Last year I posted a “how to contour” step by step, but I thought it would be great if I showed you my updated routine. Instead of using cream products (which sometimes is a little heavy and too much effort) this way is super easy and everyone can do it.
The most important part of contouring is remembering that everyone has a different face shape. For example, if you have a a larger forehead and narrow chin, you’ll want to contour your forehead and really highlight your chin so that it brings proportion to the face. Wherever you use a dark shade it creates a shadow and makes that area look defined and sculpted and wherever you want to highlight and lift you use a lighter shade.
Hope this helps and you can all give it a try!

STEP ONE:
The most important step of contouring is to have a perfect base. Use a heavier foundation and really create a flawless finish.
STEP TWO:
Using a very pale highlighting concealer ( I used Maybelline Instant Age Rewind) map out the areas of your face that you want to highlight and lift. I did under my eyes, nose, forehead, above my lip, chin and lower cheek.
After your blend out the concealer make sure you set with a yellow tone powder. I used banana powder from Anastasia Beverly Hills Contour Kit.

STEP THREE:
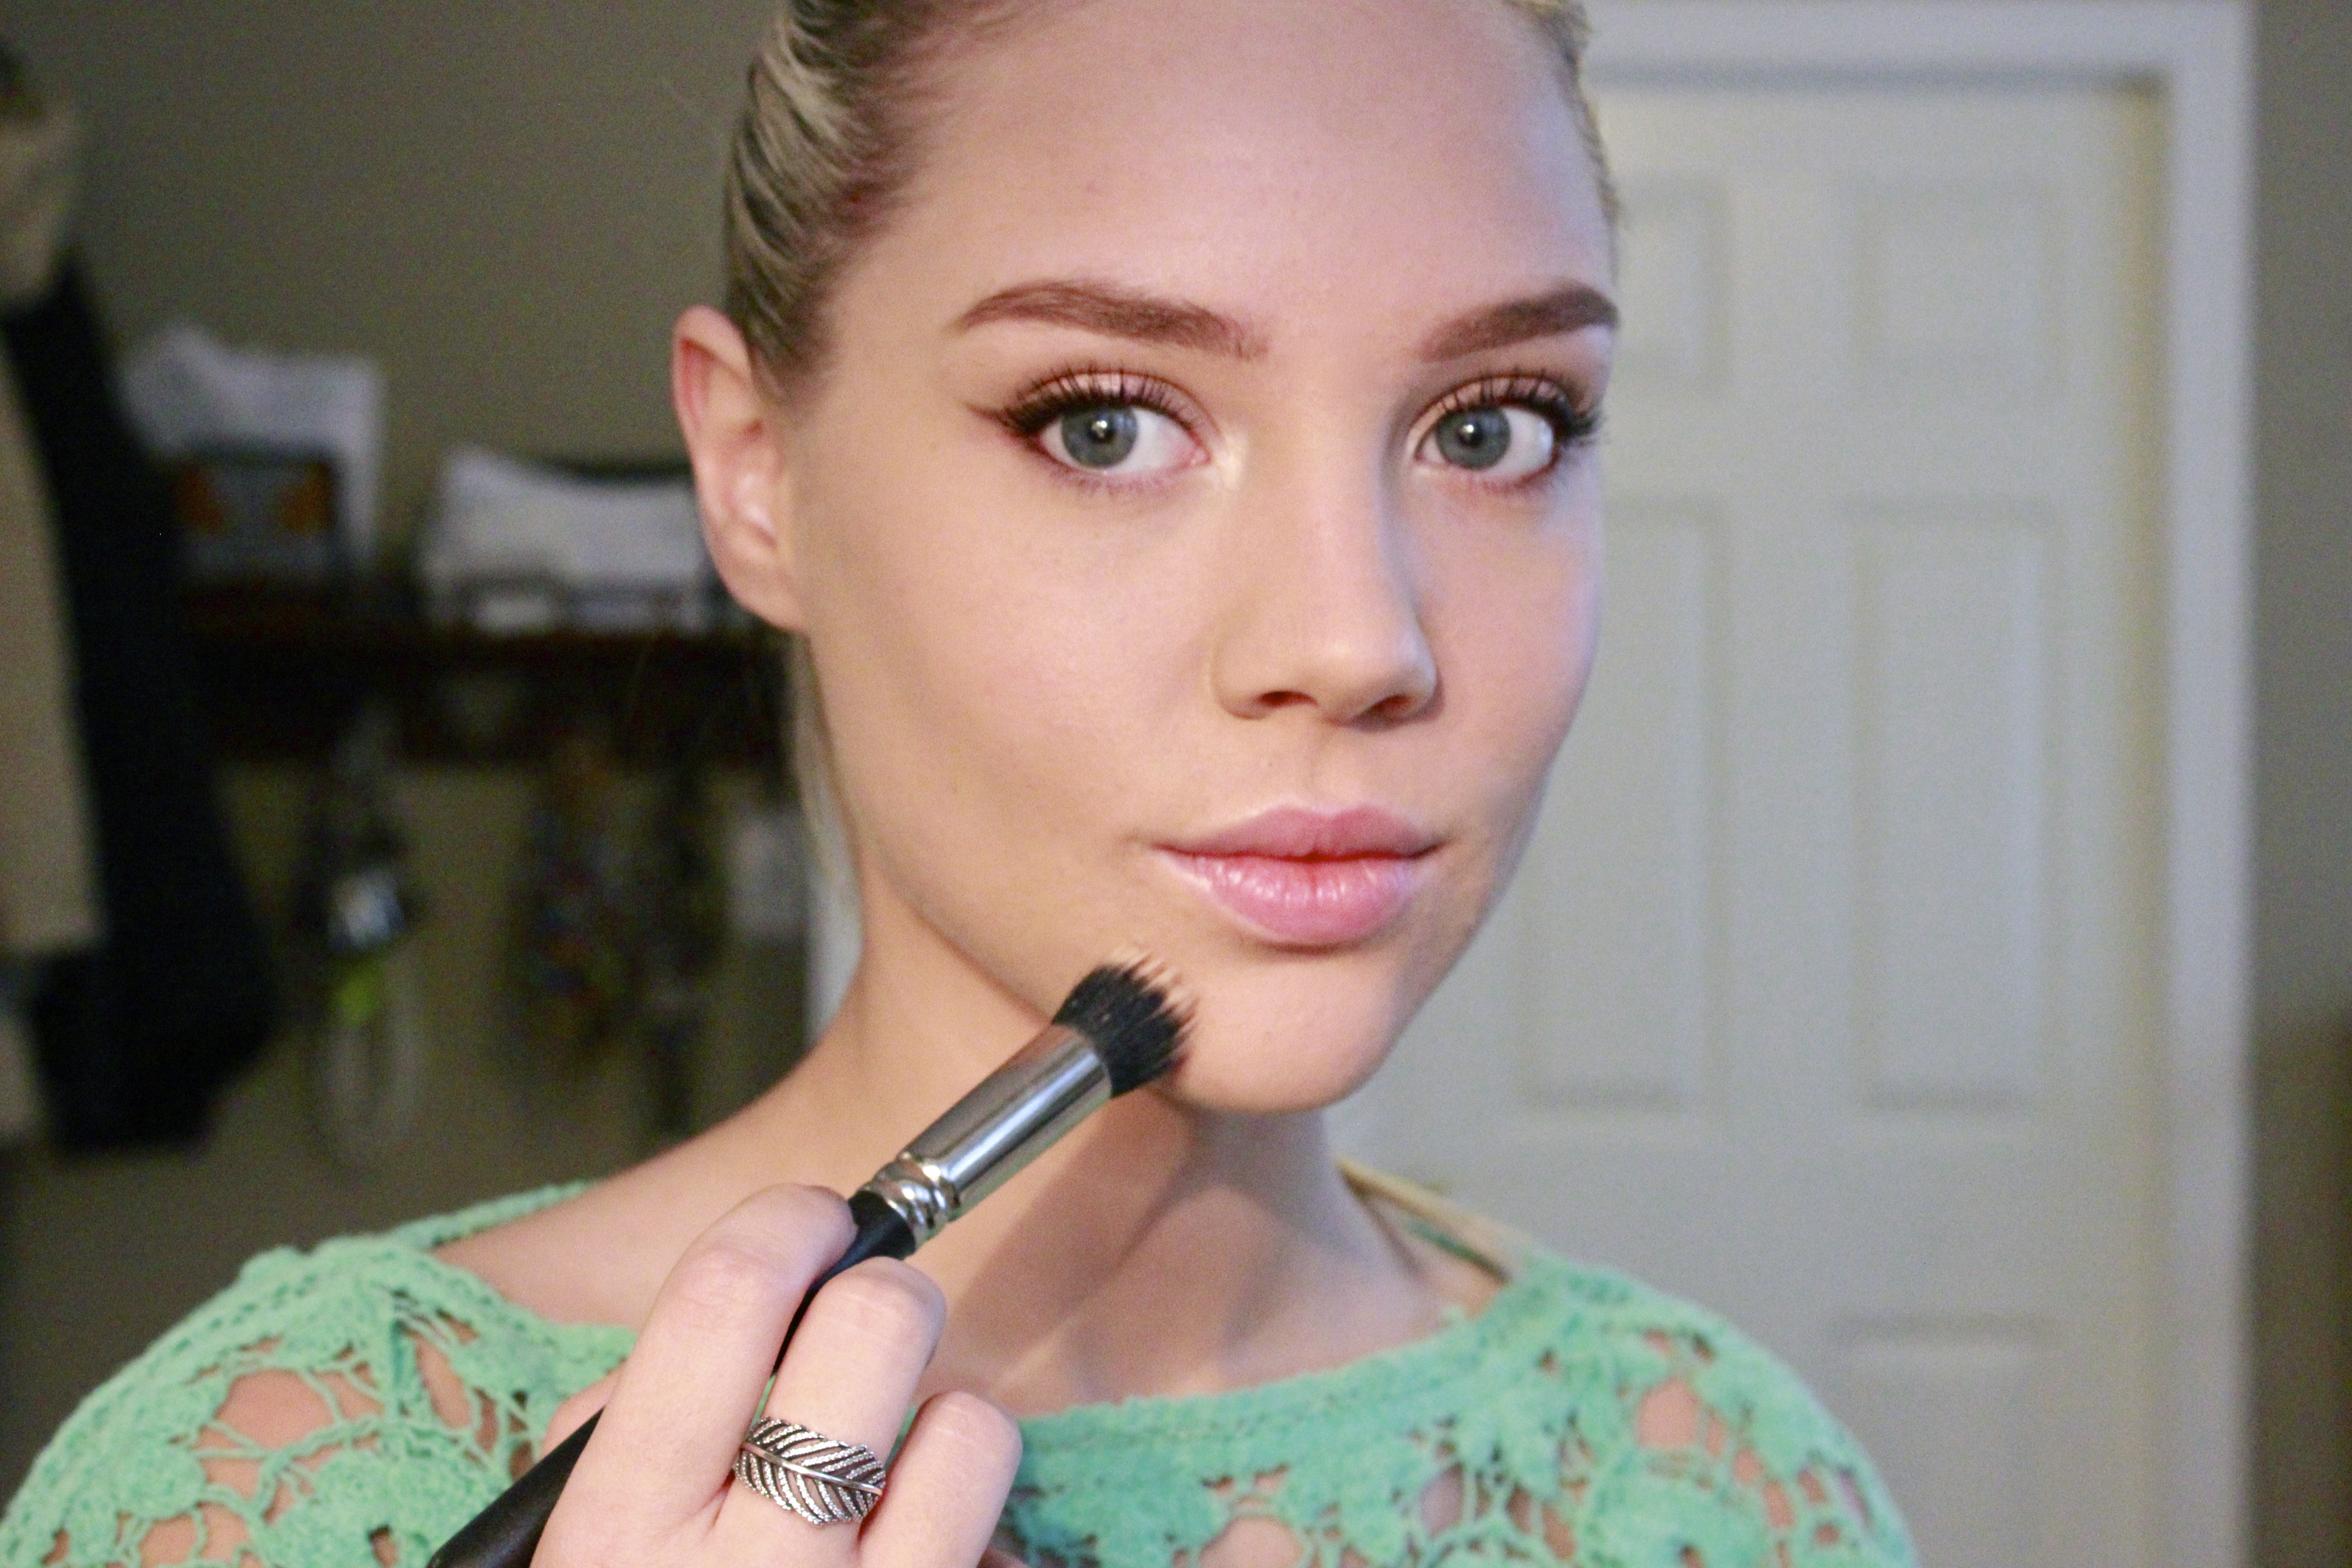
Taking a grey tone brown start blending it in the areas you want to contour and sculpt. I put it under my cheek bones, sides of my nose, temples and jaw line.
I used fawn from the Anastasia Beverly Hills Contour Kit.

STEP FOUR:
After your happy with your highlight and contour then add a pop of blush to your cheeks and some highlighter to the high points of your face for added effect.

GOOD LUCK

