Mermaid Hair | Review

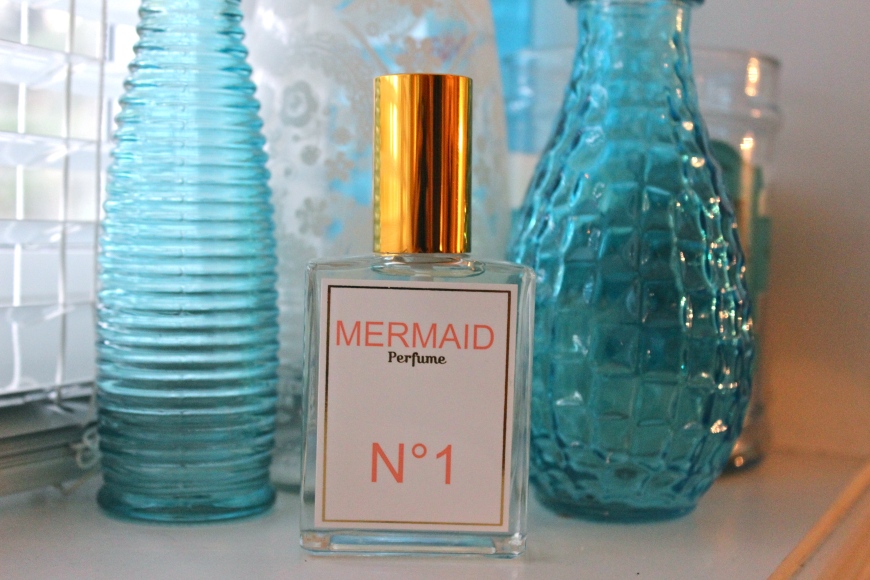
Lately I’ve been seeing a lot of this Mermaid Perfume products being talked about on some of the blogs I follow, so naturally I wanted to try it out myself. Who doesn’t want to be a Mermaid anyways?

I ordered the Mermaid perfume and Mermaid hair shine spray just to test out a couple of their products. What is great about their site is that it IS free shipping (hallelujah) and it came in good time. Also right now all products are 10% off and you receive a tote bag with a $50.00 purchase or more. When I first opened the box I wasn’t too thrilled on the packaging… it is sweet and simple but looks a wee bit cheap. Other than that I was pleasantly surprised with everything else.

IMG_4376

MERMAID PERFUME:

Now $45.00

Fragrance : Orange Blossom Flowers

When I first sprayed this perfume I wasn’t crazy about the scent, but as it began it sink into my skin and wear a little more I fell in love. It’s a romantic and feminine smell and actually wears on my skin/clothes/hair all day which is amazing!

IMG_4378

https://www.mermaidperfume.com/mermaid/product/42-mermaid-perfume-spray

MERMAID HAIR SHINE SPRAY:

Now $25.20

Fragrance: Coconut and Orange Blossom Flower

I was super excited about this product in particular because I’m crazy for anything coconut. After trying this product I really want to get their Shampoo and Conditioner since it smells like coconuts as well. The shine spray really softens my hair while giving it a beautiful shine and incredible smell.

IMG_4379

https://www.mermaidperfume.com/mermaid/product/52-mermaid-hair-shine-spray

Holiday Sparkle

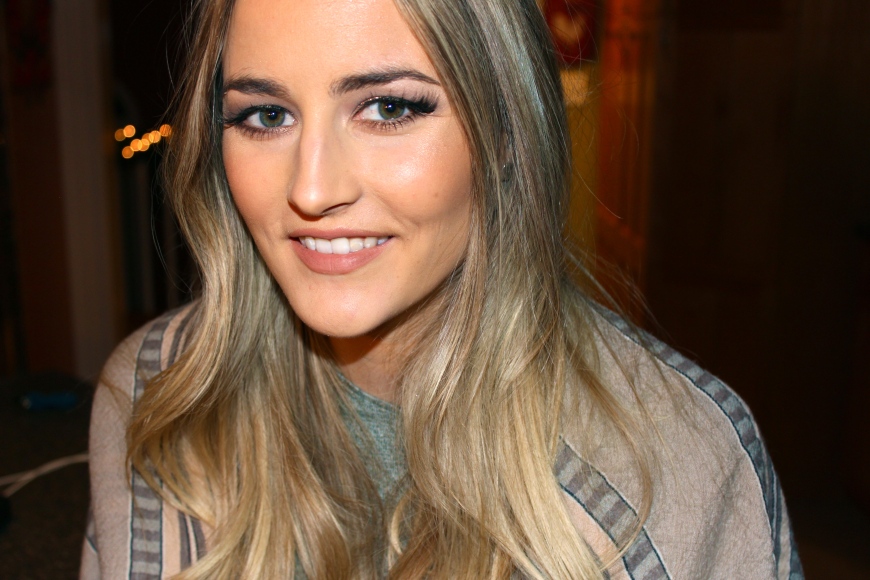
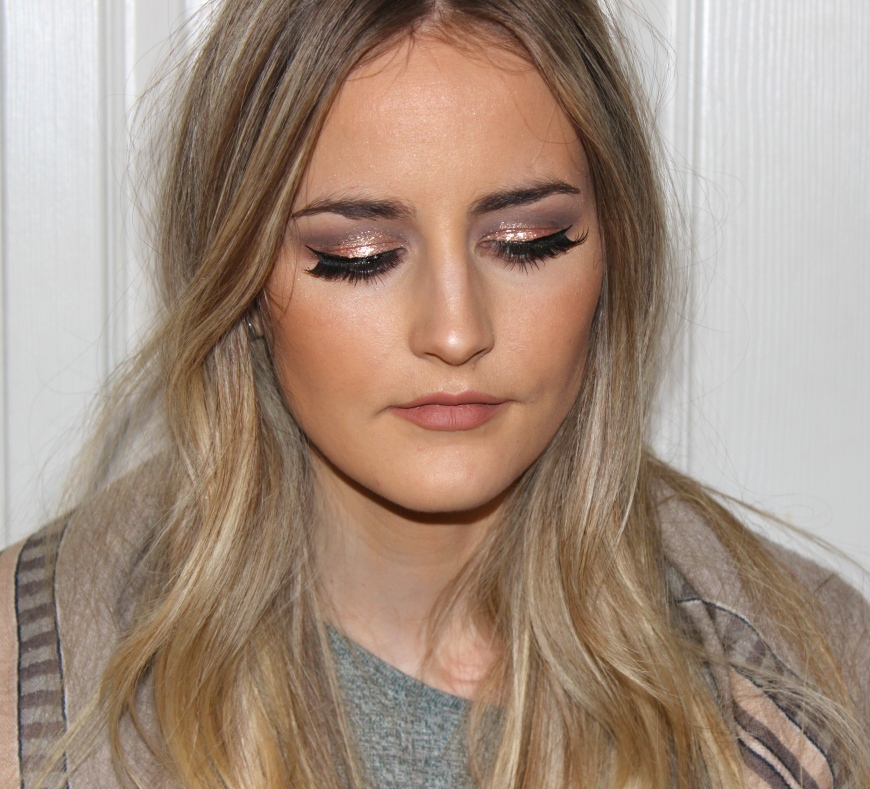
The Holidays are approaching and with that comes the parties! This look is great to add a little glam and sparkle to your look but isn’t too much for all the natural makeup girls out there. I will be doing a couple different makeup and hair looks that would be great to rock at any Christmas party this year. Hope you enjoy!

xx

IMG_4355

STEP ONE:

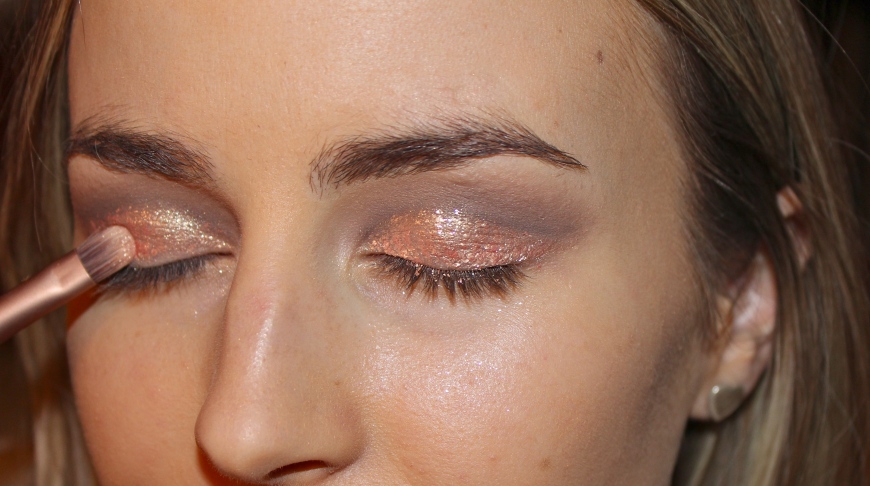
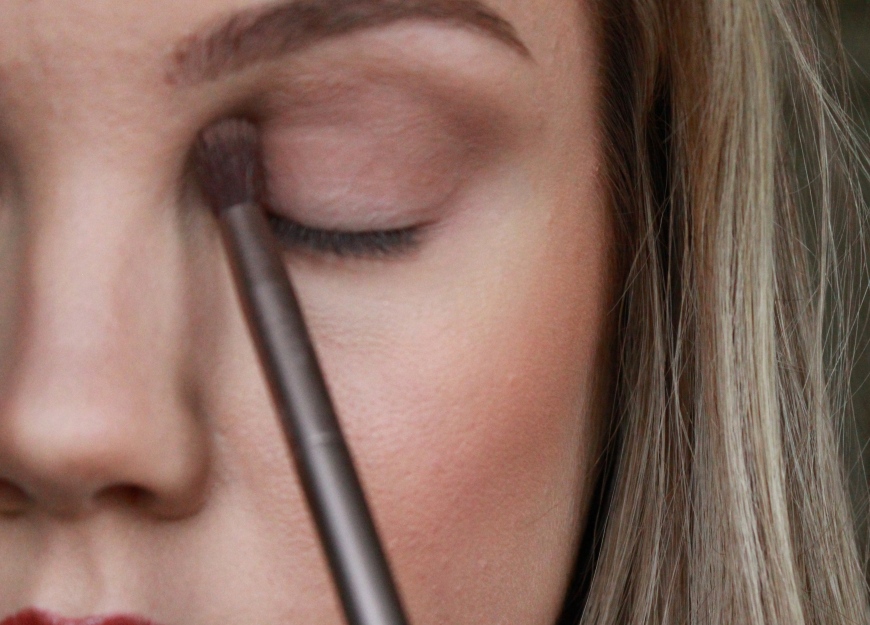
After applying an eye shadow base, take a taupe brown and really blend it. Really constrict this colour JUST to the crease because we want to create a “cut crease” effect.

IMG_4339

STEP TWO:

This is where you can have fun. Taking the Stila foil shadow in the rose gold colour I placed it on the lid. I really layered this product on so that it was the main focus of her eyes.

IMG_4340

STEP THREE:

Taking a medium bronze colour, blend it under the lash line to give definition to the eyes.

IMG_4343

STEP FOUR:

 I felt like the look could use a bit more drama so I gave her a cat eye to really show off the sparkle on her lid.

IMG_4346

STEP FIVE:

To finish off the eyes I added a pair of edgy lashes to compliment the cat eye liner. This part is of course optional.

IMG_4349

STEP SIX:

For Erica’s face I just used a tinted moisturizer, warm colour bronzer and my Givenchy highlighting pen. For her lips I kept it neutral and lined them with MAC Stripdown liner and filled with Buxom Lip foundation in Undressed.

IMG_4352

Good Luck!

IMG_4360

IMG_4366

Makeup for Mature Women

I’ve been wanting to do a post on this for a long time and I finally convinced my mom to be my model. She is 58 and is one serious babe show! She has always been interested in anything beauty related but with work, taking care of two young boys and doing all the typical motherly duties, sometimes taking time for herself comes last.  Today she let me do her makeup and show her some tips and tricks that I recommend. Doing your makeup properly when you are mature makes the biggest difference in the world. Every women should feel beautiful at any age and my mom is a true model of that. Hope this is helpful for women out there and that you can take something from it. Enjoy xx

IMG_4302

Step One:

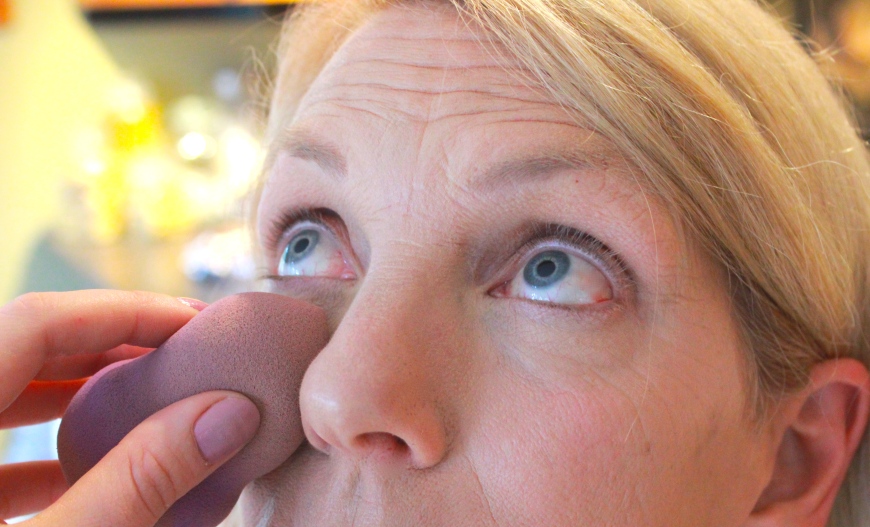
After prepping her skin with a hydrating moisturizer and some primer I moved on to a water based foundation (MAC face and body foundation). This is great for light coverage but is easily build-able. Blending all this in with a beauty sponge is great for giving an even, flawless finish.

IMG_4271

Step Two:

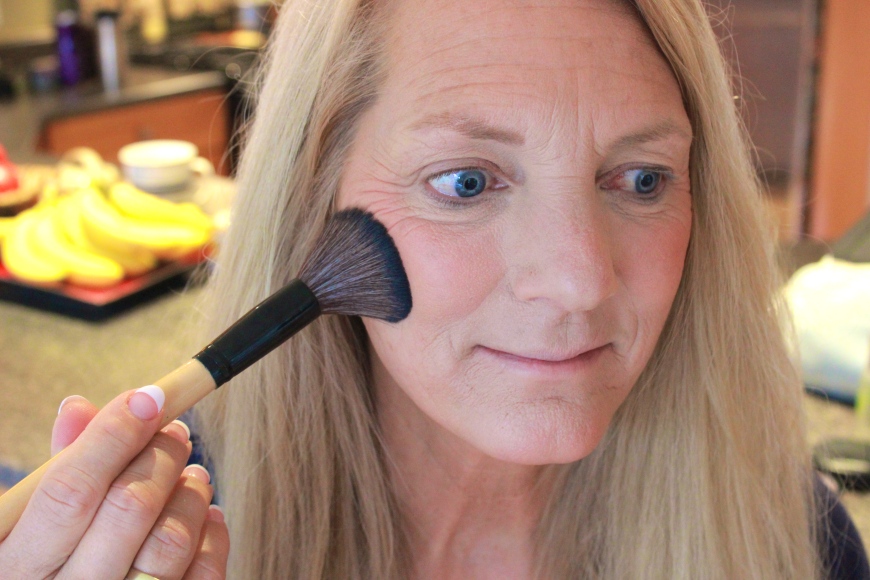
I didn’t want to do any harsh contouring so I took MAC “give me sun” bronzer and just warmed up her face in areas the sun would naturally hit it. To give her a healthy, bright look I took a rose tone blush and popped it onto the apples of her cheek.

* For mature skin it’s key to stick to matte formulas since anything with shimmer or glitter will crease in wrinkles.

IMG_4276

Step Three:

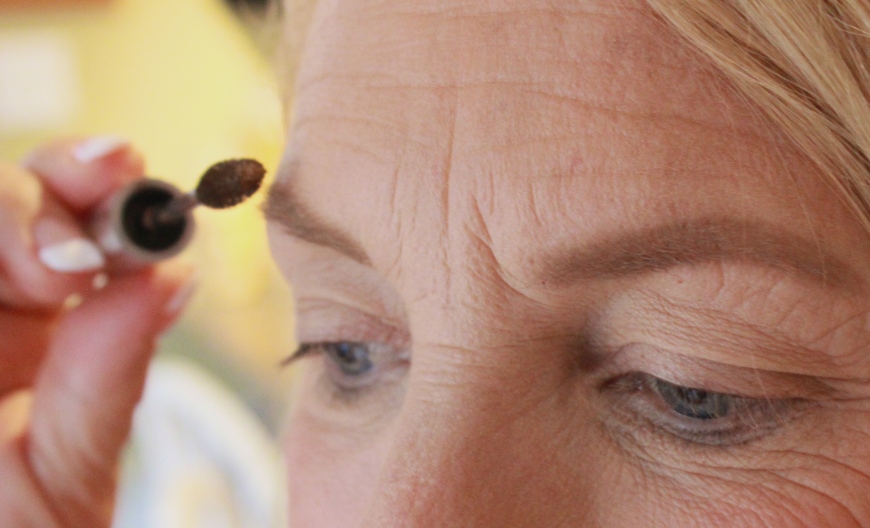
Brows are probably the most important part of the face. This is what gives proportion and frames the eyes. It also gives a more youthful look the thicker you go with them. I used Caramel Brow wiz and Caramel Brow gel from Anastasia Beverly Hills.

IMG_4278

Step Four:

I didn’t want to go overboard with the eyeshadow but I also wanted to showcase her bright blue eyes so I stuck with a warm tone brown and just blended it from lash line to crease.

* Again, stick to matte eyeshadows or even a waterproof shadow stick

IMG_4280

Step Five:

Taking a dark brown eyeliner (MAC Stubborn Brown) I rimmed the upper and lower lash line to make her lashes appear thicker. Smudging the line will create a softer effect. This is a great trick to open up the eyes and especially if you don’t have full lashes, this will help.

IMG_4283

Step Six:

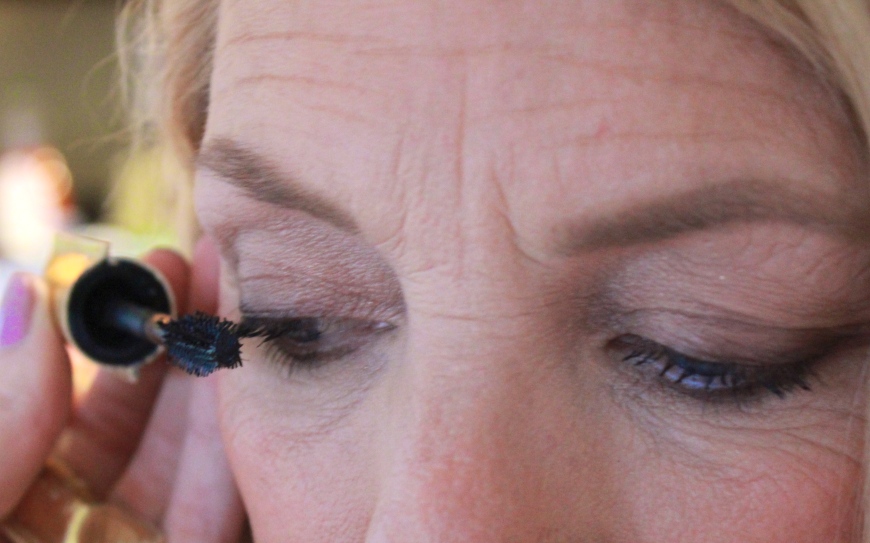
I always say one coat of mascara is never enough, but with this one (TARTE Lights camera flashes) you really only need one. Don’t forget your lower lashes!

IMG_4286

Step Seven:

Keeping the lips natural, I used a rosy nude colour that would make her eyes pop even more. ( She really does have the bluest, brightest eyes!).

IMG_4288

Weekend Hair | 3 ways

When it comes to the weekend I love dressing chill and trying fun things with my hair. Of course if I have to work or go to an event then I’ll amp it up, but for the most part, weekends are for RELAXING.

photo

xoxo

This is 3rd day hair for me so I added some light waves for some extra texture.

IMG_4246

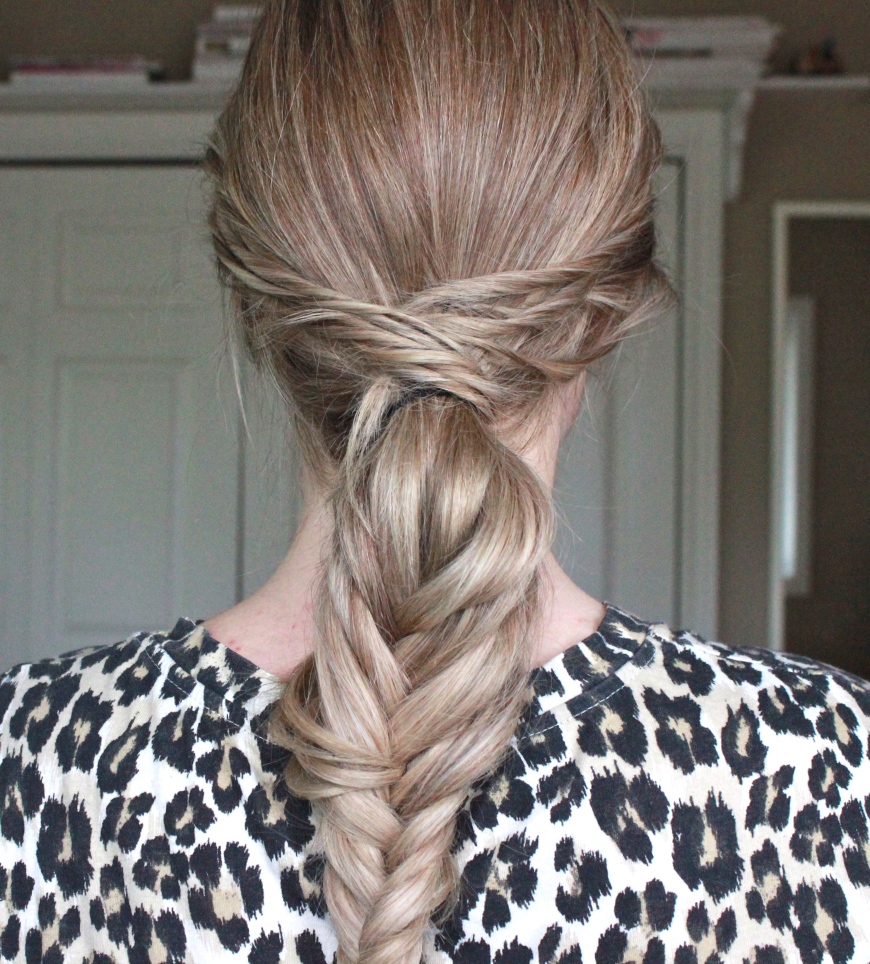
Take the middle section of your hair and put it into a ponytail, leaving out 2 inch pieces at either sides of your head.

IMG_4248

Taking strands from each section, start twisting them and lightly running your fingers up and down to rough them up a bit.

IMG_4249

Wrap the twist around your pony and secure with a bobby pin or tuck it into the elastic.

IMG_4250

Continue this until your elastic is fully covered. Take different size twists so that it doesn’t look too uniform.

IMG_4251

This is a great way to spice up the regular pony.

IMG_4252

Or braid

IMG_4253

and fishtail.

IMG_4256

xo

Five Faves : Lip Balm

We all know that with colder weather comes dry, cracked lips. This is probably one of my least favourite things about the colder months but there are ways to combat it! Down below are some of my favourite lip balms and a great lip scrub that I use all Fall and Winter. You really can never have enough of them, so with that being said, enjoy!

xo

IMG_4259

1. DIOR Rose smoothing balm 

This product is a little bit on the pricey side but it is worth every penny. It really soothes any irritations or dryness and lightly plumps my lips while doing so. Can’t say no to bigger looking lips. To top it off it has a slight rose scent to give it that luxe feel.

IMG_4263

2. VASELINE Lip Therapy 

When in need, use Vaseline! We all know this product to be deeply hydrating and completely soften up the lips. I like to use this like a mask before I go to bed because it’s so dense in texture and really soaks into my lips leaving them soft and kissable in the morning.

IMG_4264

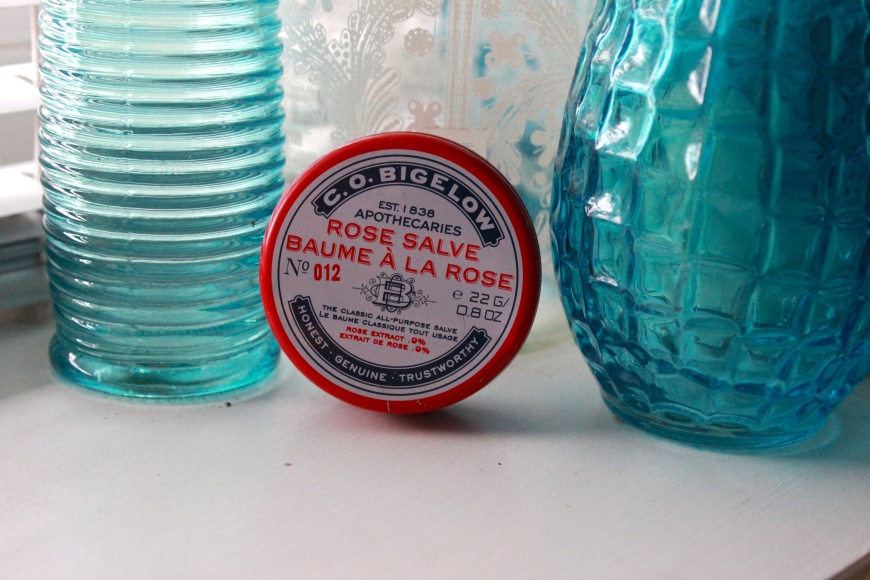
3.  C.O. BIGELOW Rose Salve

Can you tell I have a thing for rose scented products? This lip balm is great because not only does it hydrate my lips but I love prepping with it before I put on my lipstick for the day. It also has a light red tint to it so it can also be worn on its own for a more natural look. Only downside to this product is that it can be really hard to open.

IMG_4265

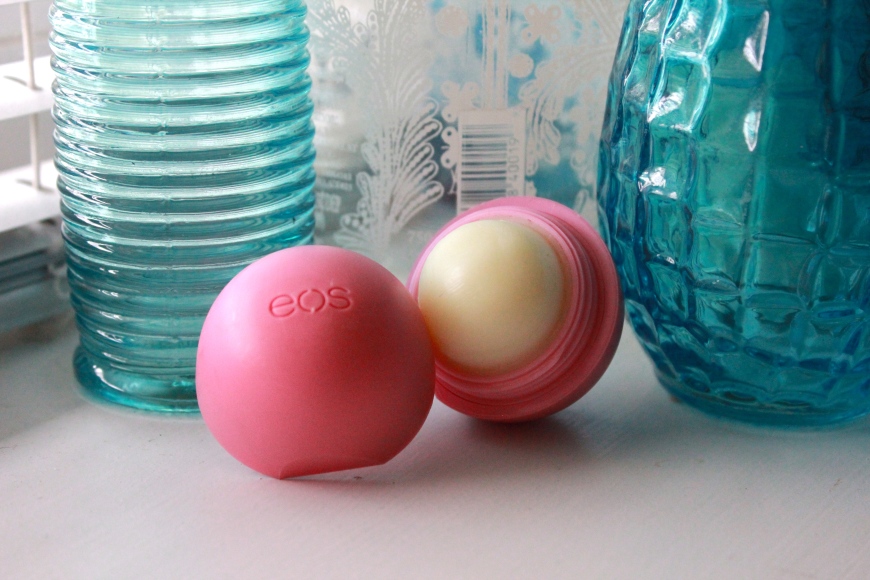
4. EOS Strawberry

Of course I had to include the famous EOS lip balm because, lets be real, we all have one. This is a great product to carry in your purse or bag because it’s so easy to find and apply. No messy fingers after applying, just a quick swipe of this on your lips and you’re good to go. It isn’t as moisturizing as the previous balms but does the job and smells good while doing so.

IMG_4267

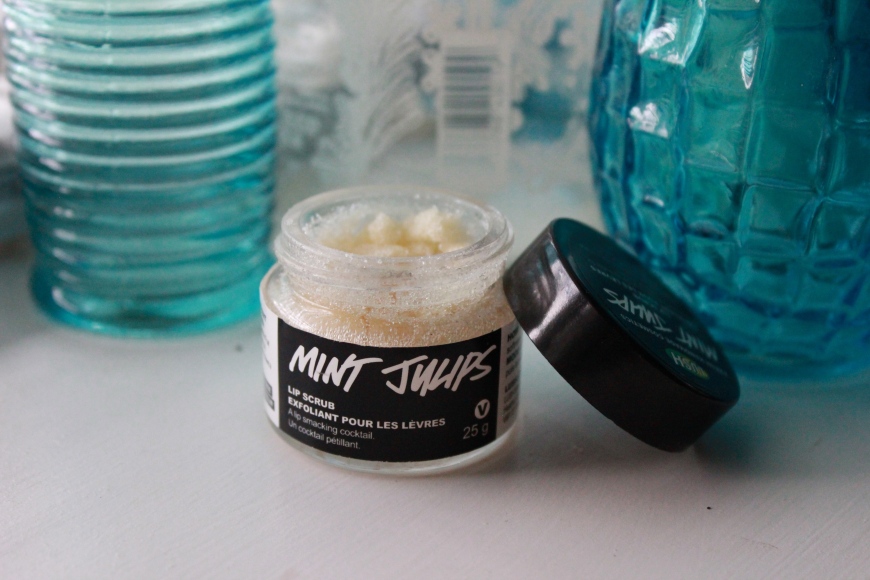
5. LUSH Mint Julips Lip Scrub

Now, I know this isn’t a lip balm but it goes with any of them to really get that extra soft lip. This exfoliator is all natural and really takes off all the dead skin from your lips without over doing it. It is made with real sugar and tastes like mints so you can just eat it after your finished exfoliating. Mixing this with any of the lip balms will make the texture less abrasive.

IMG_4268

Fall Makeup // Burgundy Wine

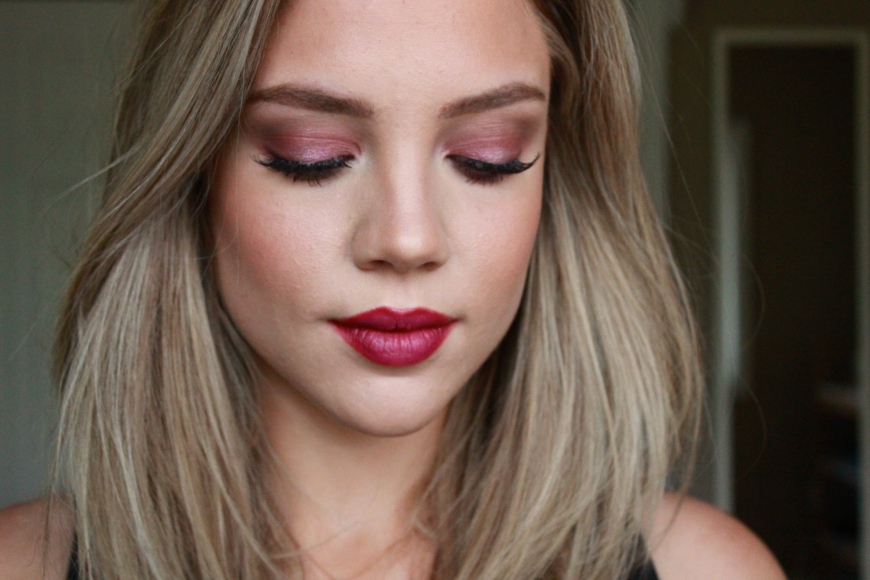
We all know that the best part about Fall is the beautiful colours. Burgundy wine coloured anything reminds me of rich, luxurious things. I love having it in my wardrobe and especially in my makeup. This look it extremely easy and a great way to introduce colour into your look. Enjoy!

xx

IMG_4220

STEP ONE:

After priming your lids, apply a medium coloured brown into your crease. Really blend out this colour.

IMG_4211

STEP TWO:

Taking this beautiful pigment from L’oreal called “Glistening Garnet” I put it onto the tops of my lid. If you want a more opaque effect then spray some MAC fix plus on your brush.
IMG_4212

STEP THREE:

Using a berry coloured liner (you can use any colour) I rimmed my upper and lower lash line and extended it at the corners.

IMG_4213

STEP FOUR:

For some highlight I used MAC vanilla pigment in the inner corners of my eyes and the centre of my lids.

IMG_4215

STEP FIVE:

I wanted this look to be glam so I added some fake lashes but that’s completely up to you.

IMG_4216

STEP SIX:

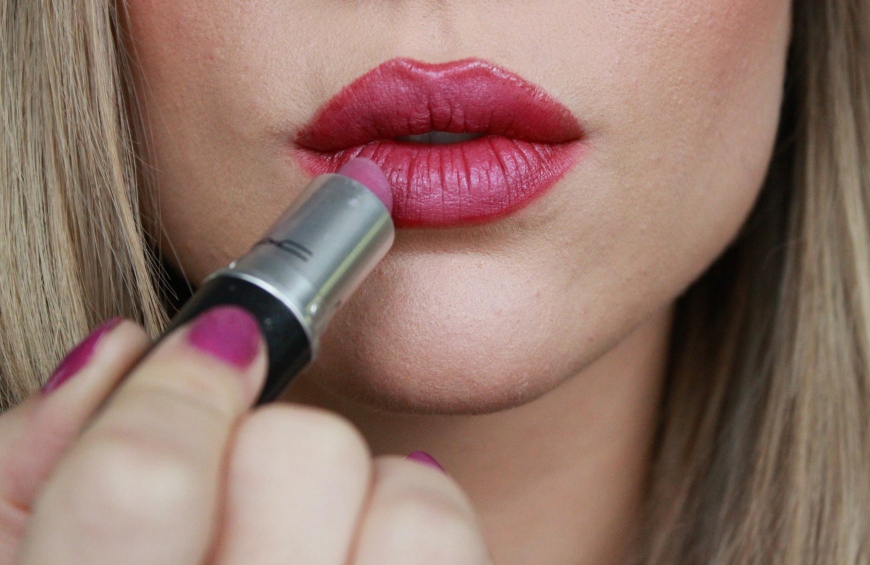
Mixing MAC’s Diva and Up the Amp to create the perfect burgundy/wine colour.

IMG_4217

GOOD LUCK

IMG_4225

November Wear

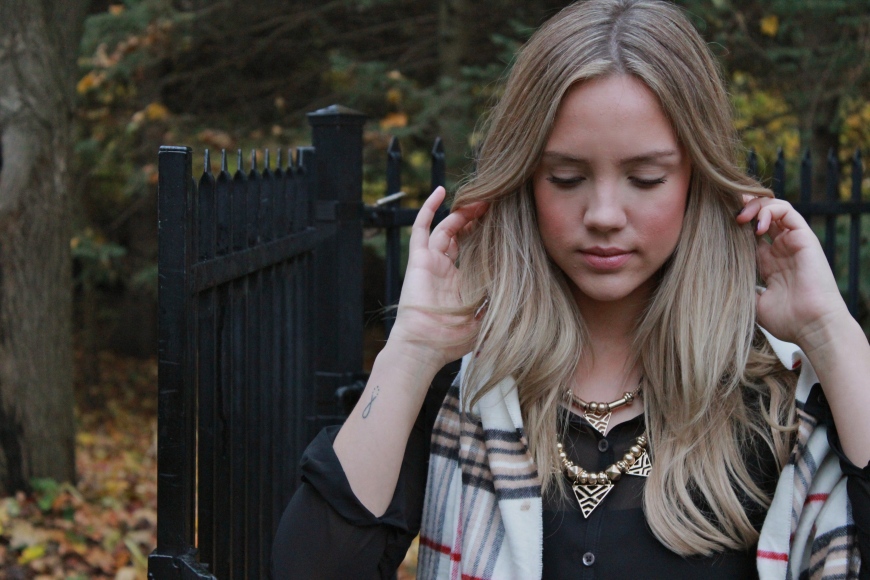
It’s starting to get colder here in Canada and Christmas is less than 50 days away, can you believe it?! The Holidays are my favourite time of year, especially at Starbucks with all their yummy drinks and treats. Today’s look is a little dressy for a Friday but I still went with it! I love scarves and using them as a main accessory, such a great way to “cozy” up the outfit. All of these items are super affordable and in store still, so if you love it, grab it!

Hope you enjoyed your week and have a safe weekend.

xo

IMG_4170 IMG_4177 IMG_4180 IMG_4191 IMG_4192

Shirt: Forever 21

Skirt: H&M

Scarf: Lord & Taylor (The Bay)

Necklace: H&M

Hair Care Routine

If you haven’t already noticed I’m slightly obsessed with hair. I was always the girl that would play with their friends hair and want to try out new styles and fun things. When I was younger I never really had products to take care of my hair other then shampoo, conditioner and the occasional hair mask. Now that I’ve matured in that department, here are a few of my essential hair care products that I’ve been loving!

(all products will be linked to where you can purchase them with their original description).

IMG_4152

1. Live Clean Age Resist Shampoo and Conditioner

IMG_4153

Transform your hair with Age Resist Shampoo and Conditioner. Shampoo gently cleanses without stripping hair as it nourishes and strengthens hair, while the Recovery Conditioner restores hydration to hair. Infuses hair with certified organic Rosehip Oil and powerful antioxidants of Pomegranate, Gogi and Blueberry extracts to help restore life to hair. Further enriched with Anti-Oxi Fruit Blend ™ of Pomegranate, Gogi and Blueberry, as well as Hydrolyzed Wheat & Corn Protein to thicken, condition and protect hair from free radicals from the inside out. Give your hair the lift it needs.

http://www.live-clean.com/products/professional/age%20resist%20shampoo%20and%20conditioner#.VFpL9CldUt0

2. Kevin Murphy BODY.MASS

IMG_4154

BODY.MASS uses eyelash thickening and lengthening technology to strengthen hair, making your hair appear thicker and fuller instantly, whilst improving the quality over time. This dual-purpose product is rich in Oleanolic acid that helps to fortify and strengthen the hair at the root to prevent thinning and falling hair.

http://kevinmurphy.com.au/product/body-mass/

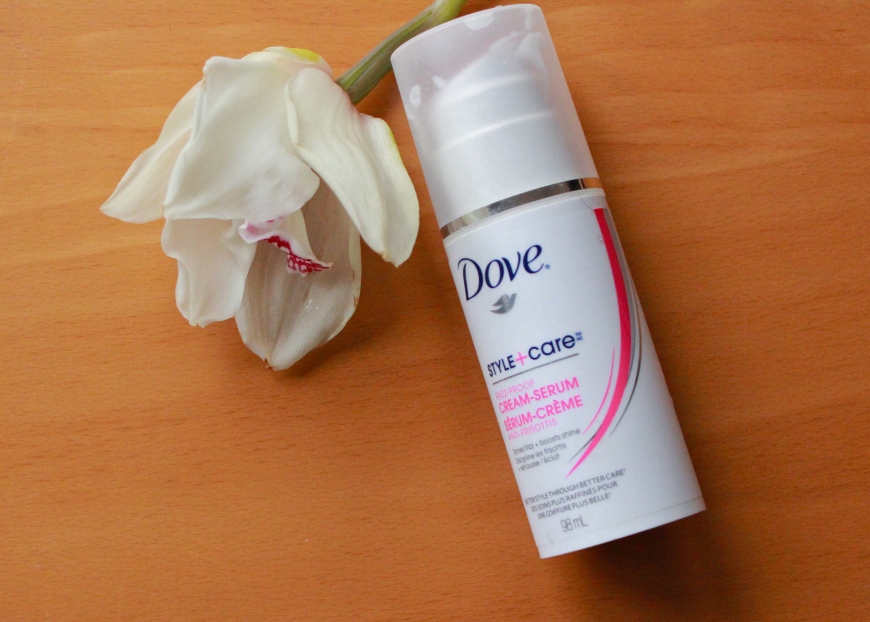
3. Dove Frizz-Free Shine Proof Serum

IMG_4155

Dove Style+Care Frizz-Free Shine Cream-Serum with Nutri-Style Complex delivers the nourishment of a cream with the shine benefits of a serum. Our lightweight formula gently nourishes and protects hair to smooth frizz and fly-aways without weighing hair down. The result — a satin-smooth, shiny hairstyle that lasts all day long.

http://www.dove.us/Products/Hair/Style-Care/Frizz-Free-Shine-Cream-Serum.aspx

4. Nexxus ProMend Leave-in Treatment Creme

IMG_4156

ProMend Leave-In Treatment Crème provides daily repair for split end problem areas. Use after each shower to bind split ends back together before styling, so ends look beautifully healthy and strong.

http://www.nexxus.com/product/detail/286527/promend-leave-in-treatment-creme

Taylor Swift Inspired Makeup

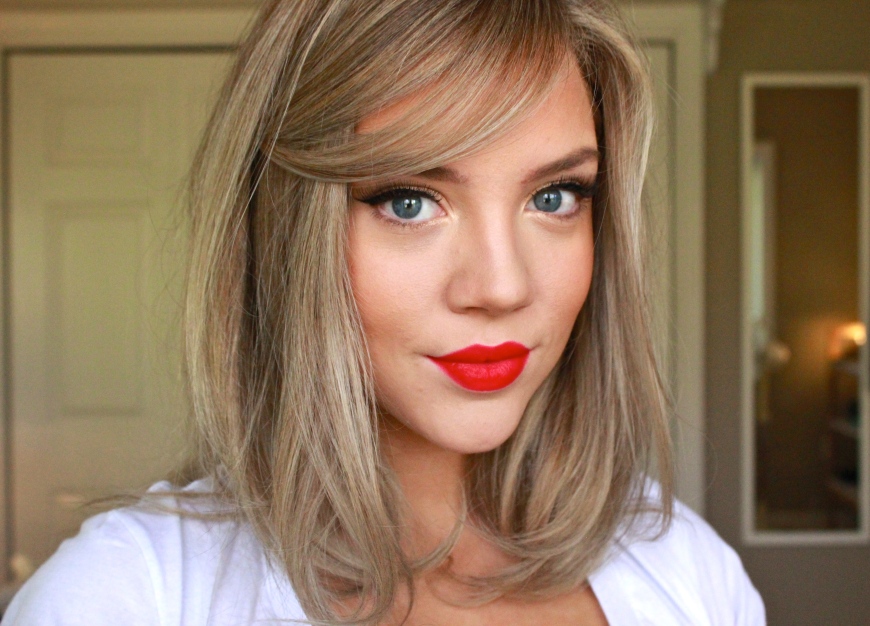
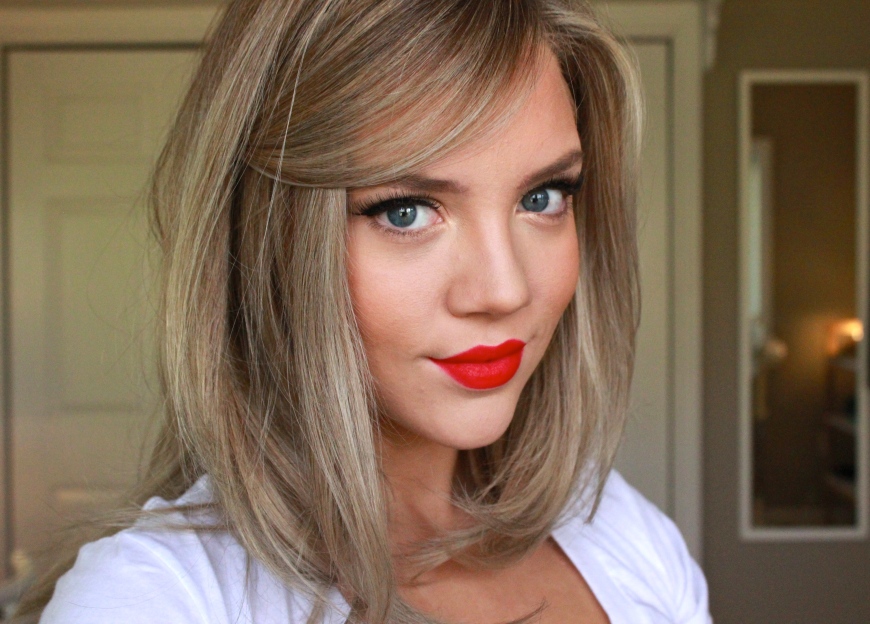
Taylor Swift is taking over the music world at the moment so I thought it would be perfect if I recreated her iconic makeup look. To be honest I’m usually not the biggest fan of her music but her latest album, 1989 is great! She’s been known to rock a sultry cat eye with her famous red lip and I can’t say no to that, so here it is!

IMG_4122

Step One:

After applying foundation and concealer I started with my Make Up For Ever aqua shadow stick in 22E and constricted it to the outer corner of my eyes. This will create an outline for our cat eye.

IMG_4109

Step Two:

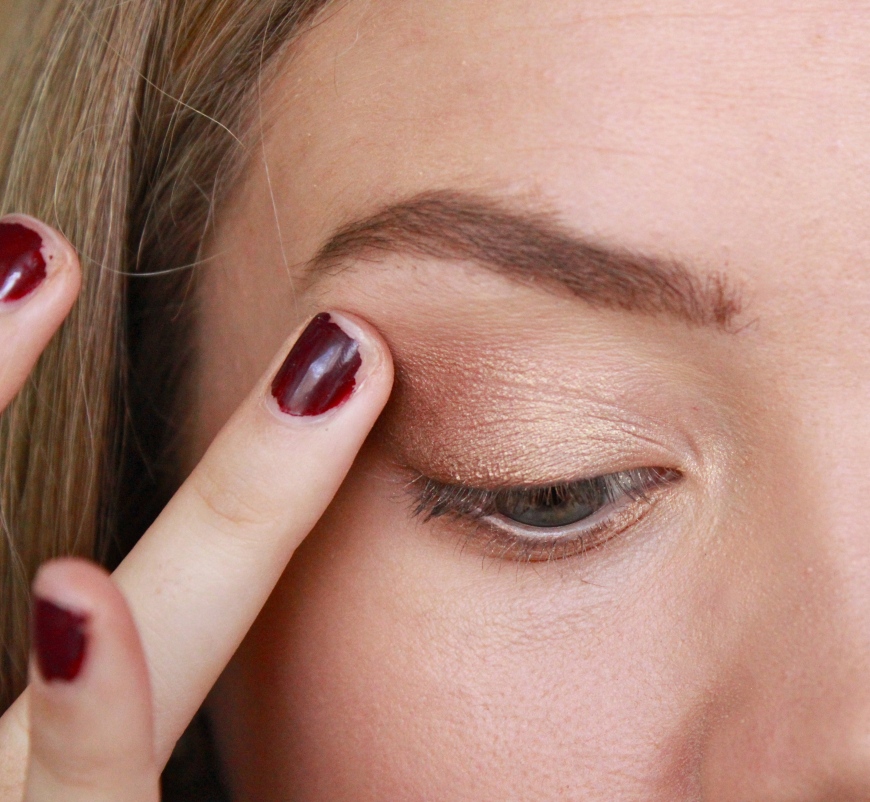
Taking the gold shadow in my Maybelline Nude’s palette I pressed it in all over my lid but really concentrating it in the inner corner of my eye.

IMG_4110

Step Three:

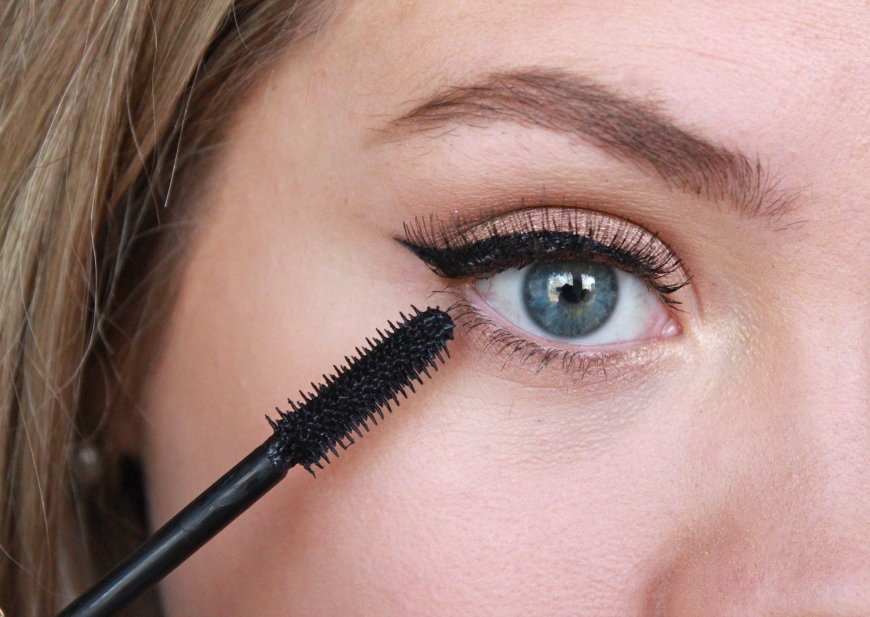
Take your favourite black liner and create that wing! Don’t bring it further then the middle of your eye because we want this wing to make our eyes have more of an almond shape.

IMG_4112

Step Four:

You don’t have to add lashes but I wanted to add more to the cat eye so I chose a pair that really wing out at the sides. Coat with your favourite mascara on the top and bottom lashes.

IMG_4113

Step Five:

Using MAC’s “Give me sun” bronzer I lightly contoured but really just wanted to give my face some colour. Instead of blush I just popped the bronzer onto the apples of my cheek.

IMG_4115

Step Six:

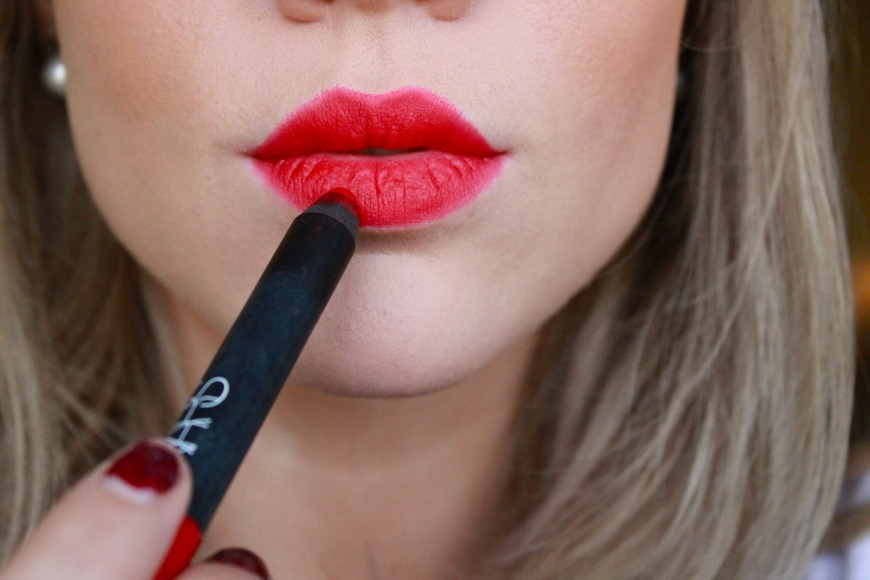
For the perfect red I used NARS “Dragon Girl” Lip pencil. Taylor Swift actually uses this colour so it’s perfect!

IMG_4116

* I didn’t cut my hair but just pulled my shortest top layers to the front so it looks like a have a bob.

IMG_4121